Setting Up a Google Classroom Class on Flat for Education
This guide walks you through connecting your Google Classroom classes to Flat for Education so your students are enrolled and ready to work in minutes.
You need a Flat for Education account to follow these steps. If you haven't set one up yet, see the Google Classroom overview first.
Once a class is synced with Flat for Education, future roster updates are instant and automatic. No extra steps needed on your end.
Open the Classes tab
Once you're logged into Flat for Education, click Classes on the left of any dashboard page.

Then click Create a new class in the centre of your screen.
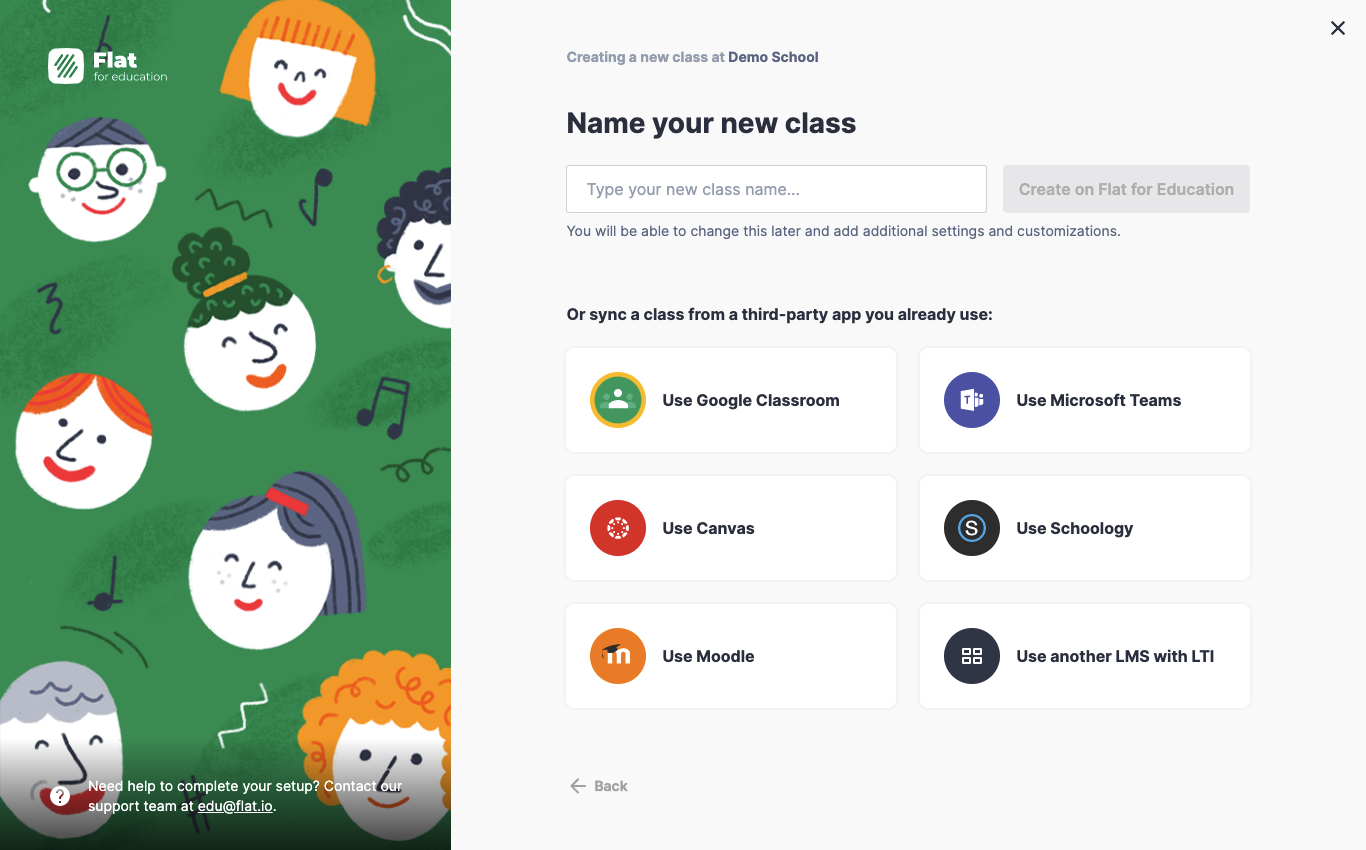
Choose Use Google Classroom
You don't need to enter a class name. Click Use Google Classroom.
If this is your first time connecting, you'll be prompted to give Flat permission to access your Google Classroom data. Follow the on-screen steps to authorise access and then continue.
Select your classes
Once your Google account is connected, you'll see all your Google Classroom classes. Select the ones you want to use with Flat for Education.
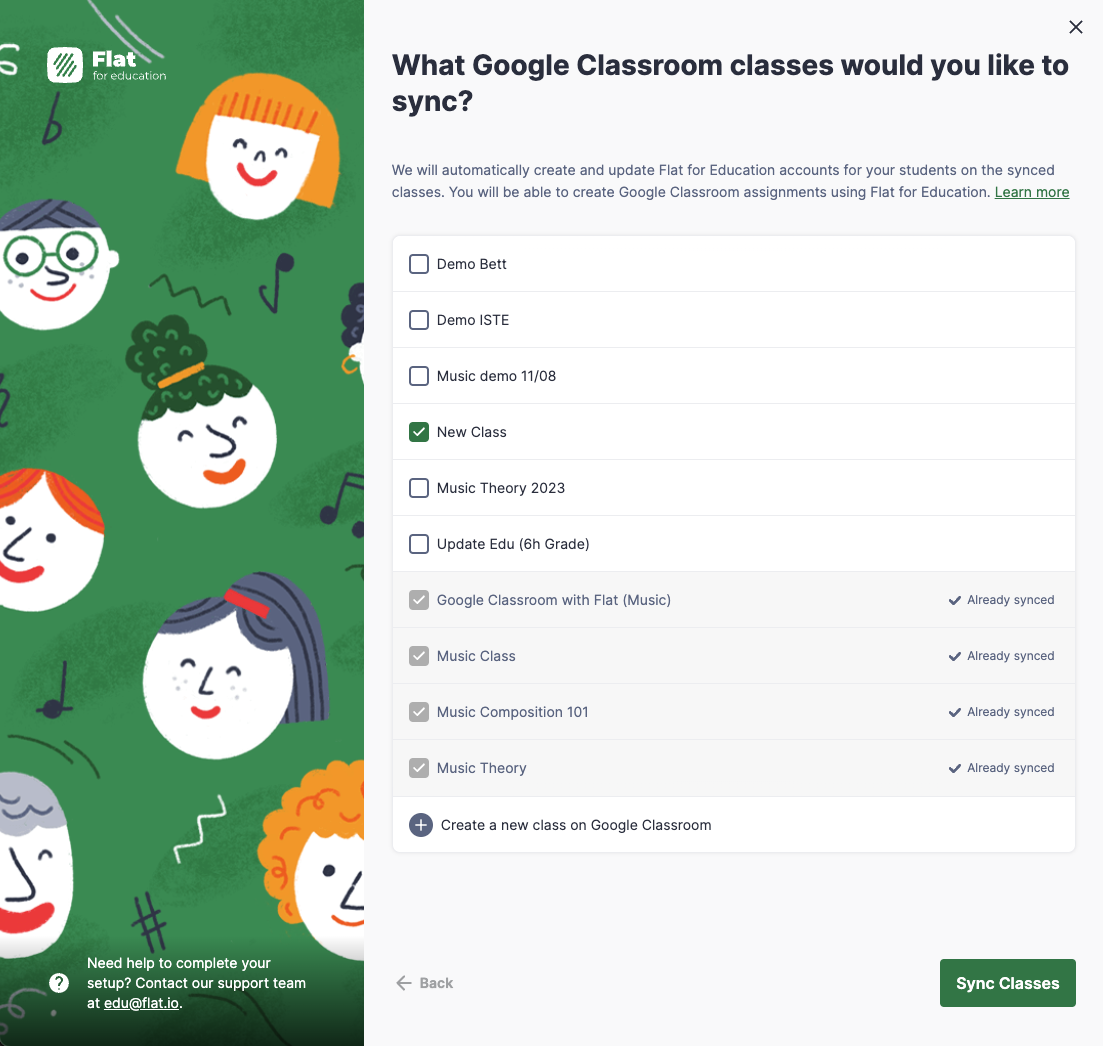
Click the Sync Classes button in the bottom right-hand corner to continue.
Your classes are ready
Your classes are now synced with Google Classroom. Student accounts are automatically created and enrolled — your students can sign in with their Google accounts straight away.
You only need to do this setup once. Any future roster changes in Google Classroom — new students, removals — sync across to Flat for Education automatically.
Video tutorial
Watch this video for a full walkthrough of the class setup process.